
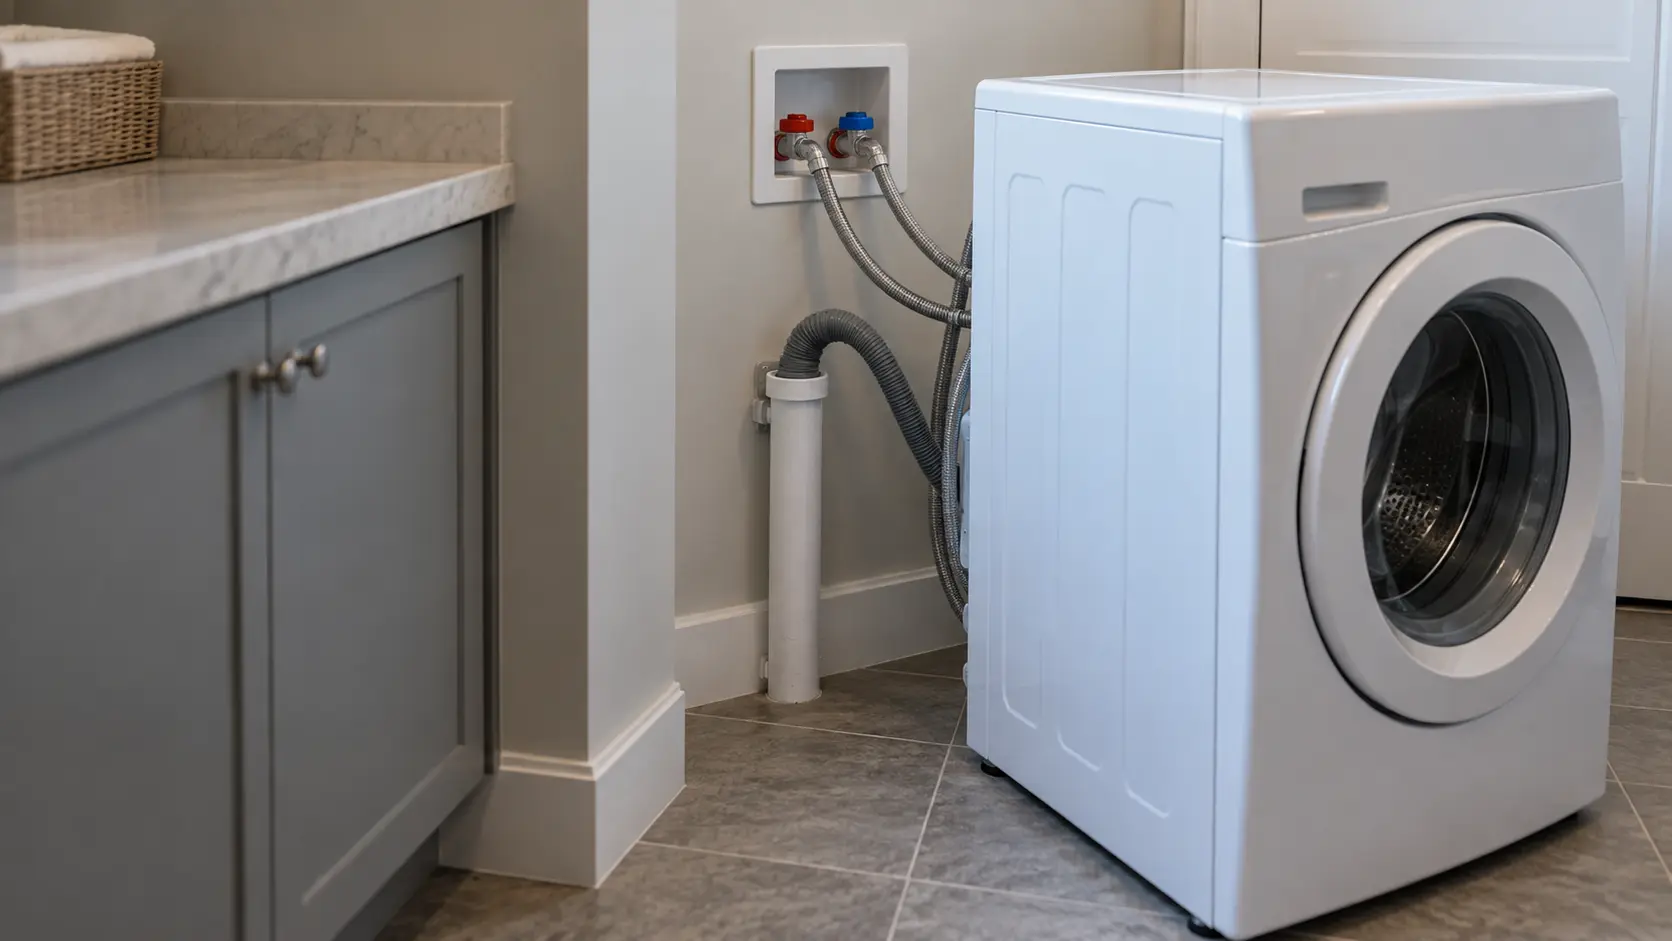
Why a washer has to be level
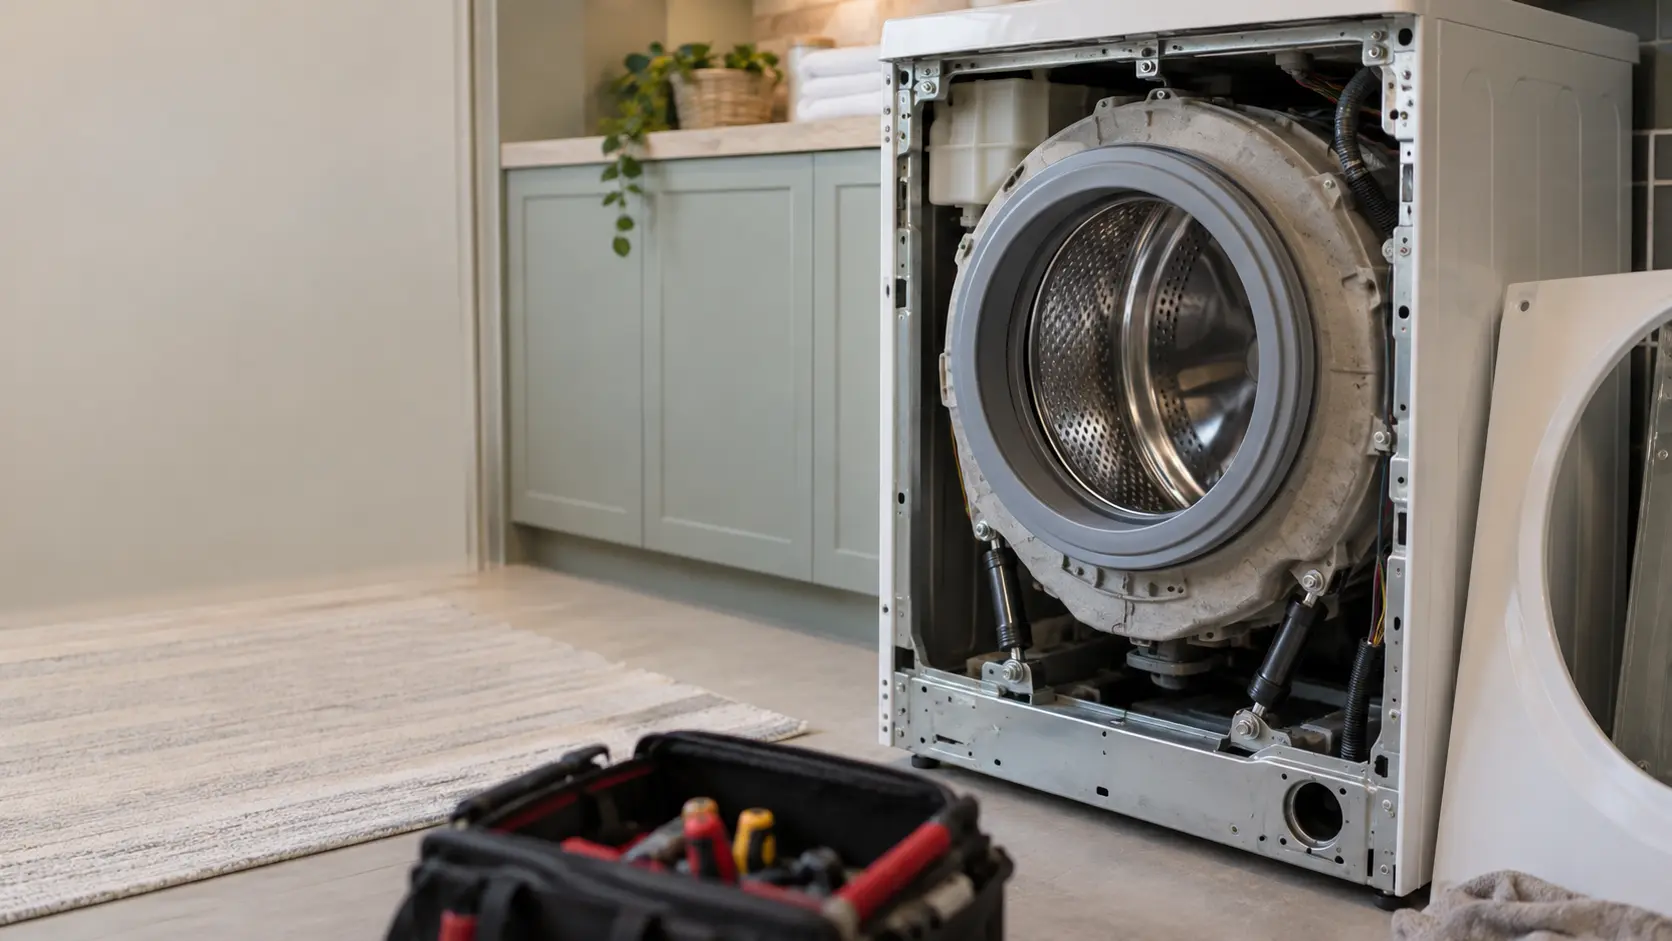
The tub of a washer hangs on springs, dampers or a suspension of rods, and it is meant to move a little inside a cabinet that does not. When one foot is short, the cabinet rocks with every revolution, the tub's motion feeds the rocking, and the whole machine starts to thump and creep across the floor. Whirlpool lists the signs: heavy vibration, unusual noise and uneven wash results.
Over time the extra movement wears the suspension and the parts that carry the drum. A level washer on a firm floor is quieter, spins loads drier and puts less strain on everything that turns.
Source: Whirlpool Product Help — Leveling a front load washer — Signs of an unlevel washer; rock diagonally and tighten locknuts; pedestal installation; 3/4-inch plywood for a flexing floor
Before you start
Leveling is wasted effort if something else is holding the tub or the floor is moving under the feet. Check these first.
- Unplug the washer and close the supply valves before tipping or sliding it.
- On a front-loader, confirm every shipping bolt and its spacers are out of the back panel and the holes are capped.
- On a top-loader, check for a shipping brace under the lid or a plug in the base, as Speed Queen's top-loaders have.
- Clean the floor where the feet stand: LG warns that dust, water or oil lets the feet slide.
- Take the washer off any carpet, rug or foam-backed flooring, which LG, Speed Queen and Whirlpool all advise against.
What shipping bolts look like
On LG's front-loaders they are four bolts through the back panel, each with a rubber damper and a plastic rod behind it, and the whole assembly has to come out. LG warns that leaving them in causes severe vibration and noise and can damage the washer permanently, and it fastens the power cord under one bolt so the washer cannot be plugged in until that bolt is out. Keep them for a future move.
Source: Whirlpool Product Help — Electrical supply needed for a washer — Floor slope no more than 1 inch; no carpet or foam-backed surfaces; floor must support 315 pounds; LG Electronics — Washer Owner's Manual (WM4080) — Remove all four shipping bolt assemblies; floor slope under 1 inch; clean, dry floor; extend feet only as needed; concrete best, wood to FHA standards; non-skid pads; Alliance Laundry Systems (Speed Queen) — Installation Instructions for Topload Washers, 204104 — Shipping brace and plug; wood block, front legs, self-leveling rear legs; do not slide the washer on extended legs; tight locknuts; rubber cups; no carpeting; Alliance Laundry Systems (Speed Queen) — User's Guide for Frontload Washers, 808187 — Install on a solid, sturdy, level floor, not carpeting or soft tile; placing the washer near a corner or a structural wall reduces vibration; remove shipping materials

How to level a washer, foot by foot
Most washers have four threaded feet with a locknut on each. Turning a foot out raises that corner; turning it in lowers it. Set a level across the top, first side to side and then front to back, and adjust the low side up rather than the high side down where you can, so the legs stay as short as possible.
Keep the legs as short as the floor allows
LG says to extend the feet only as far as needed, because a washer standing tall on long legs vibrates more. If the floor needs a lot of leg on one side to level the cabinet, that is a sign the floor is past the 1 inch slope the manuals accept.
Top-loaders with self-leveling rear legs
Some top-loaders adjust only at the front. Speed Queen's instructions have you prop the washer on a wood block, set the front legs, then tilt the cabinet forward and lower it so the rear legs settle themselves. It also warns against sliding the washer across the floor once the legs are extended, which can damage the legs and the base.
Locking the adjustment
Once the washer sits level and will not rock, turn each locknut up tight against the cabinet. Speed Queen is blunt about why: if the locknuts are loose, the washer will not stay put while it runs. Speed Queen also packs rubber cups to go under all four legs so they grip the floor.
On a pedestal
A pedestal changes where the leveling happens. Whirlpool's instructions have the washer's own feet removed, the washer bolted to the pedestal with pads between them, and the leveling done with the pedestal's feet on the floor. The rock test and the locknuts then apply to the pedestal instead of the washer.
A pedestal also raises the machine's center of gravity, so a small wobble at the floor becomes a larger one at the top. Take extra care to get all four pedestal feet firmly down before the first high-speed spin.
Source: Whirlpool Product Help — Leveling a front load washer — Signs of an unlevel washer; rock diagonally and tighten locknuts; pedestal installation; 3/4-inch plywood for a flexing floor
When the floor is the problem
A floor can be level and still move. Whirlpool's help pages point out that vibration you can feel from across the room often means the floor itself is flexing, and they note that securing a sheet of 3/4-inch plywood to the floor under the washer and dryer may reduce it. LG calls concrete the best base and accepts a wood floor built to FHA standards.
Whirlpool gives the weight a floor must carry, washer plus water plus load, as 315 pounds for the model on its page. Upper-floor laundry rooms, older joists and long spans are where flexing shows up. Stiffening the framing under a laundry room is work for a carpenter or contractor, not a leveling job.
- Concrete slab: the firmest base, and the one LG prefers.
- Wood-framed floor: acceptable when built to FHA standards, better with the washer near a wall or corner.
- Carpet, rugs and foam-backed vinyl: ruled out, because the feet sink and shift.
- A raised platform or a weakly supported structure: LG says never.
Source: Whirlpool Product Help — Leveling a front load washer — Signs of an unlevel washer; rock diagonally and tighten locknuts; pedestal installation; 3/4-inch plywood for a flexing floor; Whirlpool Product Help — Electrical supply needed for a washer — Floor slope no more than 1 inch; no carpet or foam-backed surfaces; floor must support 315 pounds; LG Electronics — Washer Owner's Manual (WM4080) — Remove all four shipping bolt assemblies; floor slope under 1 inch; clean, dry floor; extend feet only as needed; concrete best, wood to FHA standards; non-skid pads; Alliance Laundry Systems (Speed Queen) — User's Guide for Frontload Washers, 808187 — Install on a solid, sturdy, level floor, not carpeting or soft tile; placing the washer near a corner or a structural wall reduces vibration; remove shipping materials


