
Check 1: power at the outlet and the panel settings
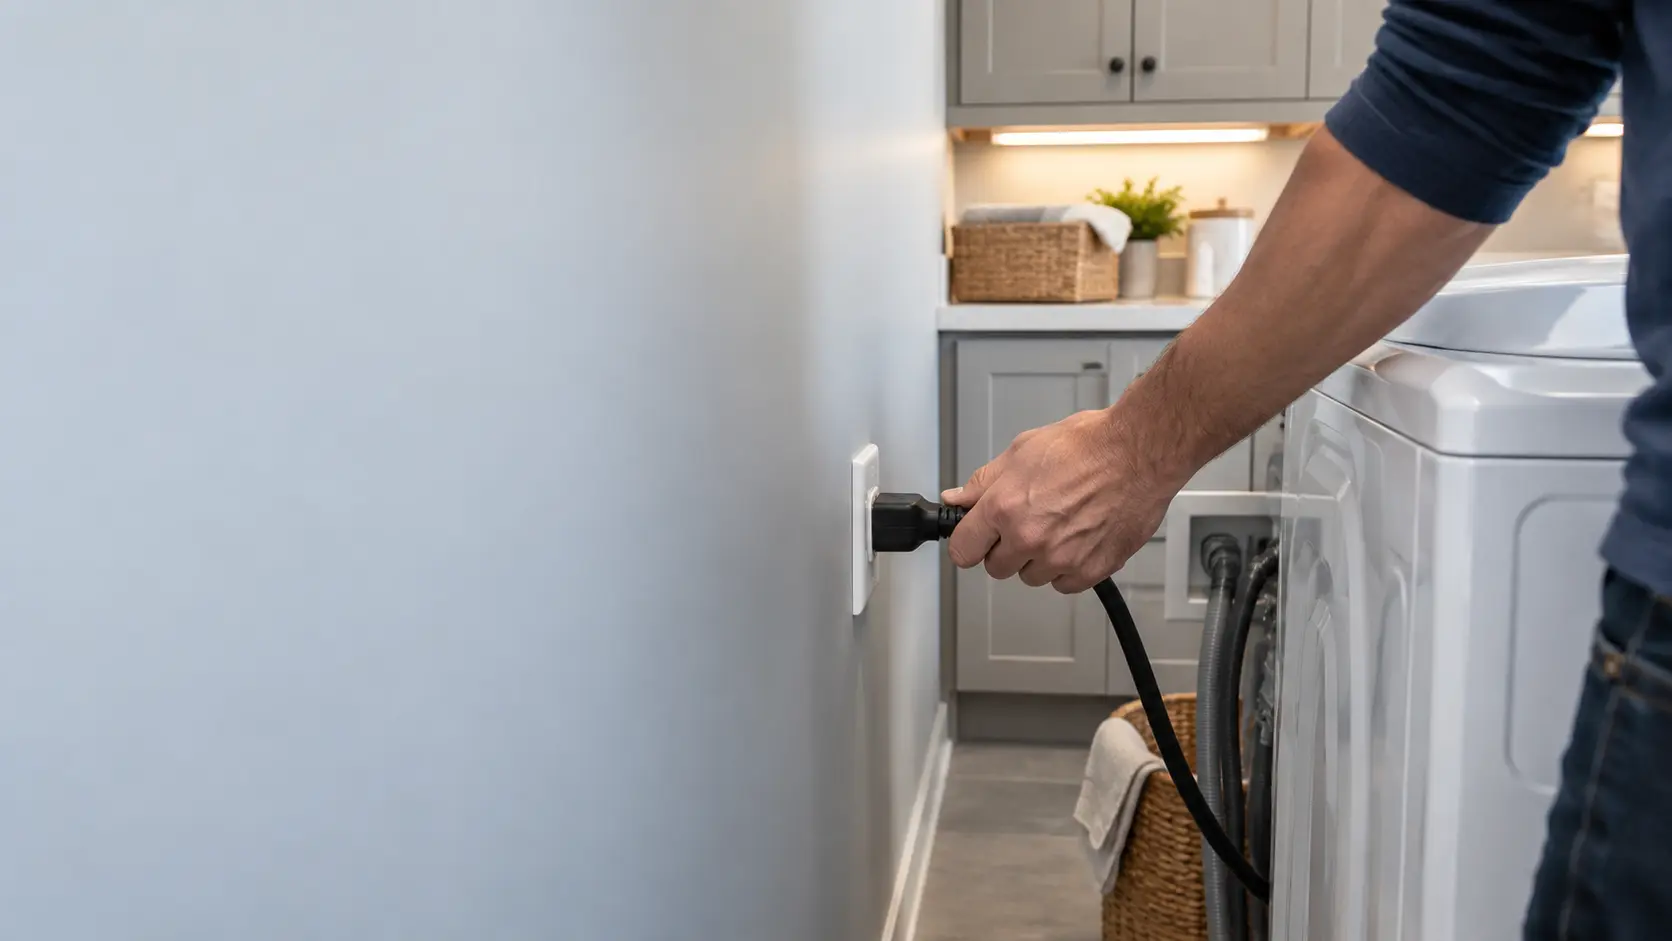
A washer that shows nothing on its display is not getting power or is set not to respond. A washer plugs into an ordinary household outlet, often a GFCI outlet with test and reset buttons, placed behind or beside the machine. Press reset on that outlet and on any GFCI outlet elsewhere in the laundry room that may feed it, then check the breaker panel for a tripped switch.
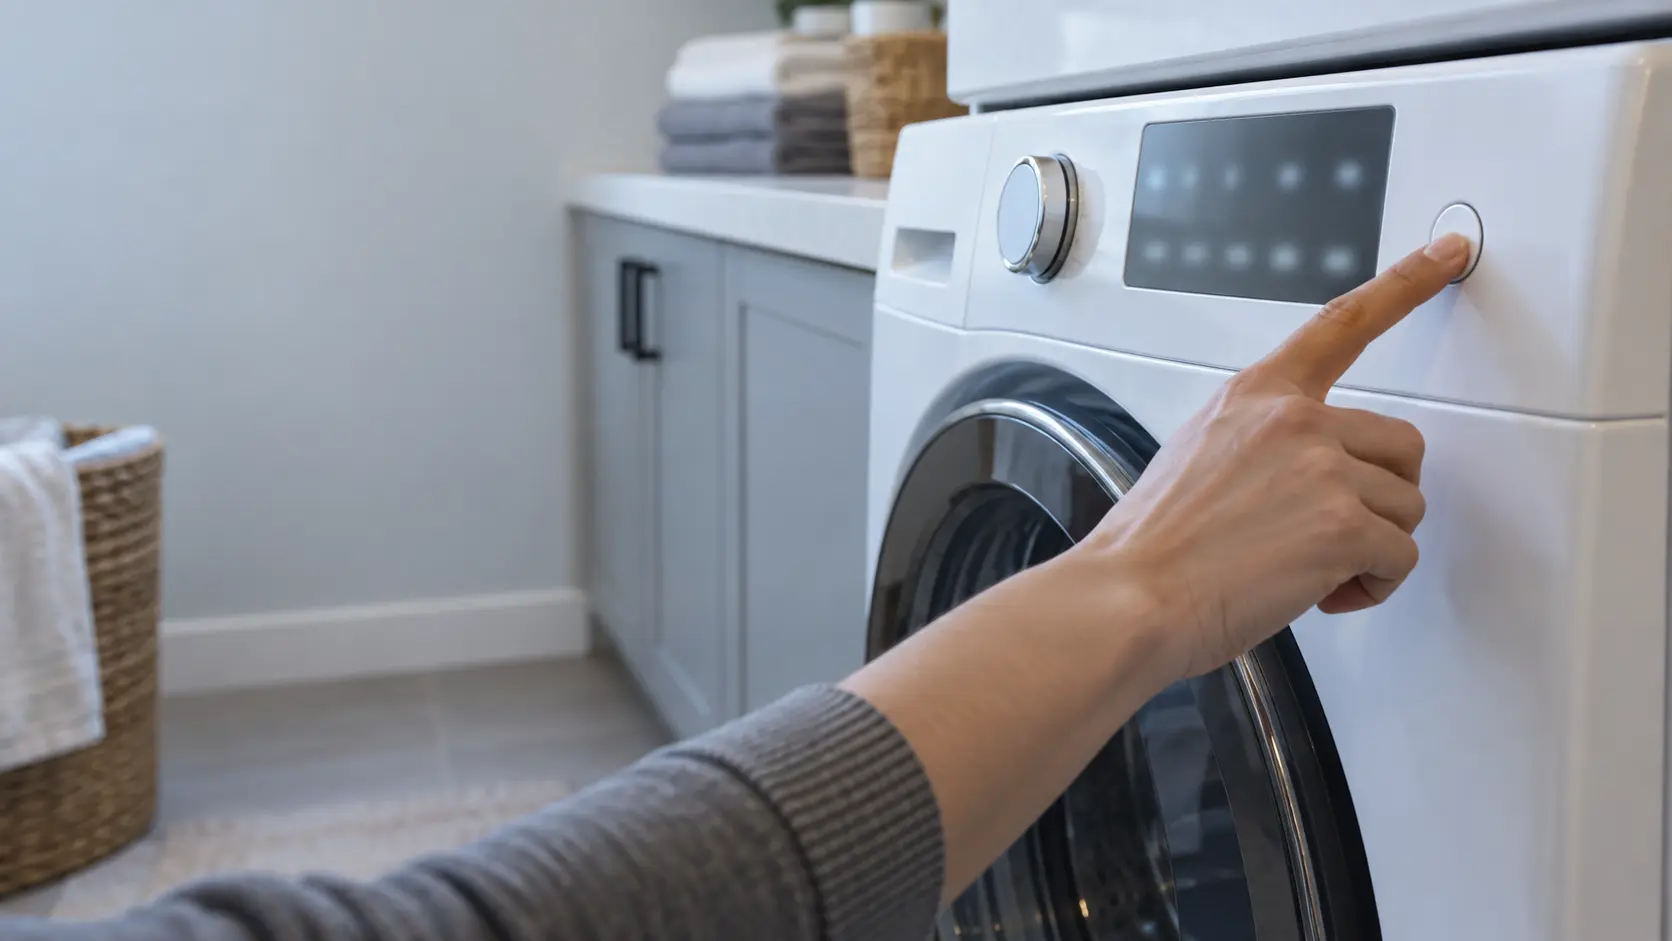
If the display lights but the washer will not begin, look at the panel itself. Washer troubleshooting often ends right here:
- A control lock or child lock icon lit on the display
- A delay start counting down before anything happens
- A cycle paused and waiting for Start to be pressed again
- Some panels need Start held for a second or two, not tapped
If the breaker or GFCI trips again
Reset it once. If it trips again as soon as the washer starts, fills or spins, leave it off and unplug the washer: repeated tripping means current is going where it should not, and water is never far away inside that cabinet.
Check 2: both supply valves and their hoses
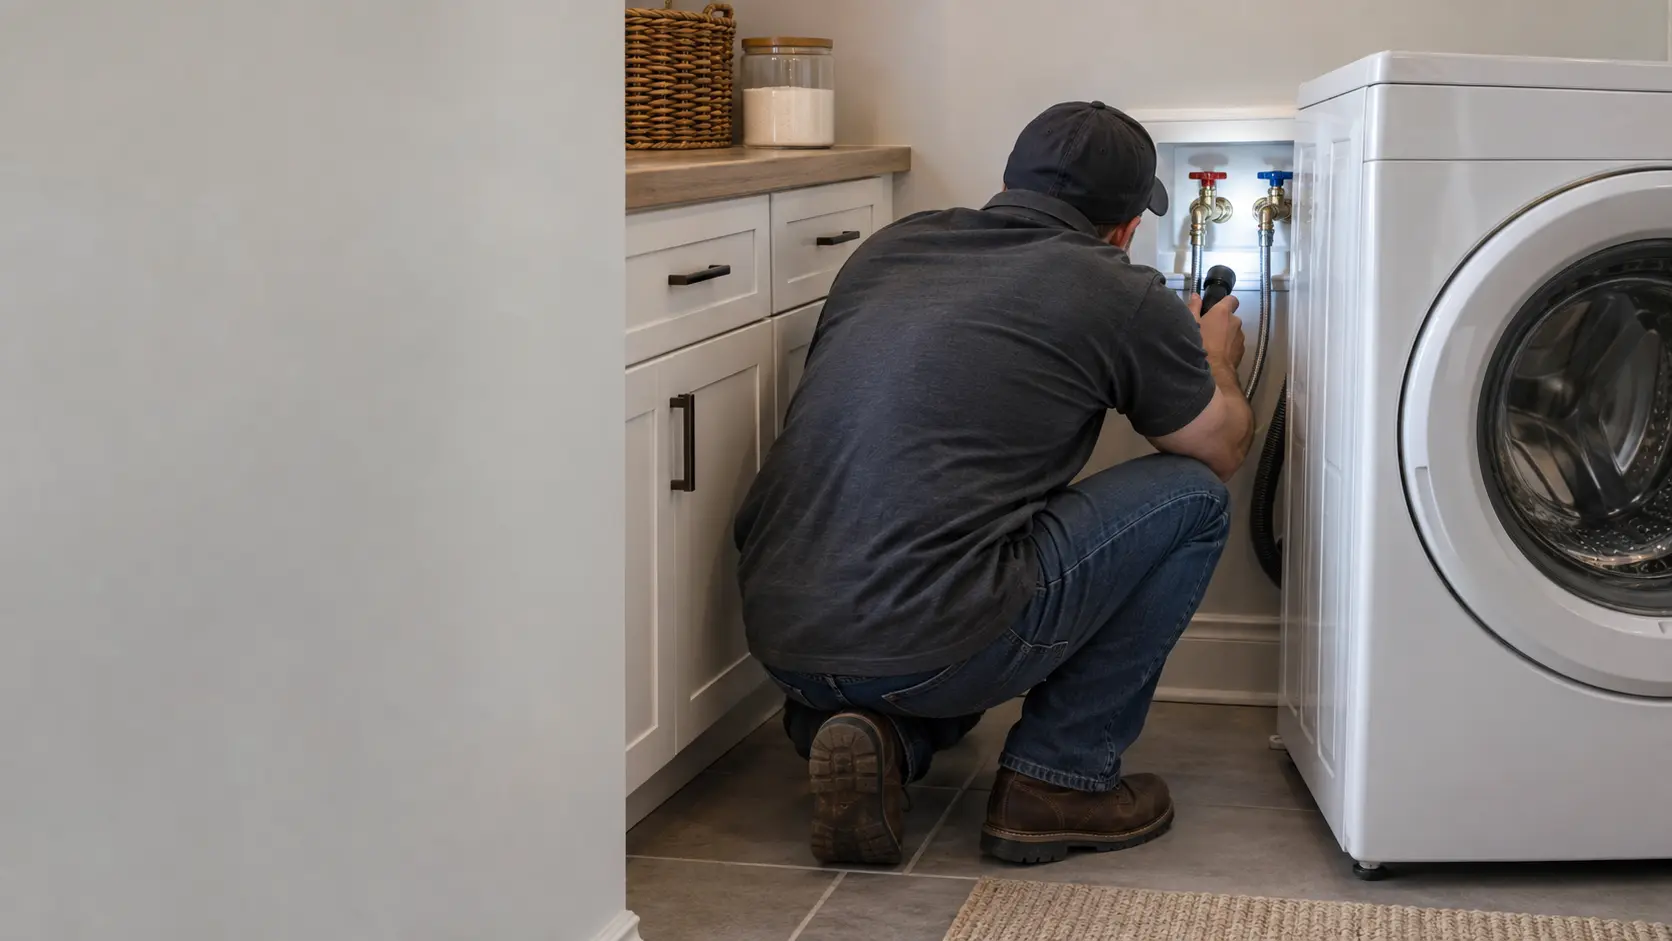
Behind the washer, two hoses run from the hot and cold valves on the wall to the back of the machine. Both valves should be fully open, turned counterclockwise until they stop. A washer with one valve closed may fill slowly, fill only on some temperatures or stop with a fill code, because most wash settings blend the two.
Follow each hose from the wall to the washer. A kink where the machine was pushed back, or a hose squashed against the wall, restricts flow as much as a half-closed valve. Whirlpool's help for a slow fill begins with the same two items, the inlet hoses and the water supply.
The small screens at the hose inlets
Where each hose meets the washer is a small mesh screen that catches grit from the pipes, and a fresh plumbing repair in the house often clogs it. Close both valves, set a towel down, then unscrew the hose to look. Replace the hose washer if it is flattened or cracked, and do not force a corroded fitting.
Source: Whirlpool — Not filling or long fill, top-load washer — A slow or missing fill starts with the inlet hoses and the water supply
Check 3: the door latch or the lid
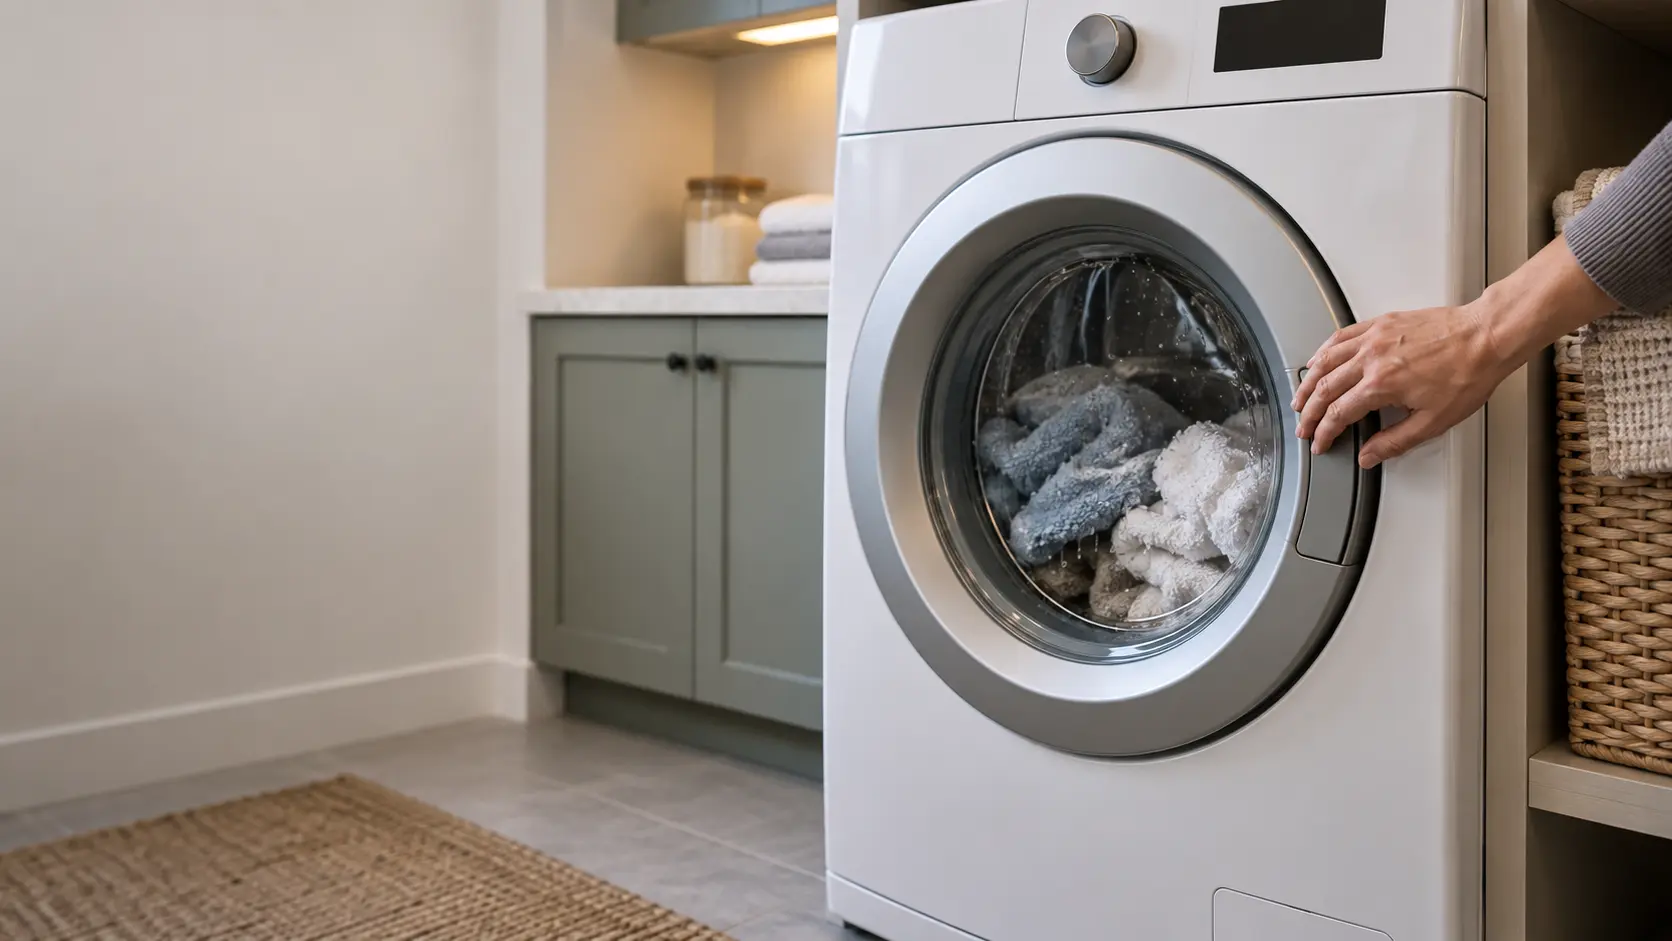
No washer will wash with an unsecured door, and most will not spin with an open lid. On a front-loader, close the door with a firm push and watch for the lock light; a sleeve or sock trapped in the door boot can hold it just far enough open to fail. On a top-loader, look at the latch area under the lid for detergent crust or a broken striker.
A lock light that flashes, or a lock that clicks repeatedly without staying on, is worth writing down exactly as it looks: those patterns help pin down a lock that is wearing out.
If a front-loader will not unlock after a cycle, give it a few minutes; many hold the door until the drum has stopped and the water level has dropped. A door that stays locked with water still visible is a drain problem first, and the drain checks below come before anything to do with the lock.
Check 4: the drain hose and the pump filter
Pull the washer out enough to see its drain hose. It should run without kinks to the standpipe or laundry sink and rest loosely inside, not taped shut; Whirlpool gives about 4.5 inches as the most it should go down the pipe.
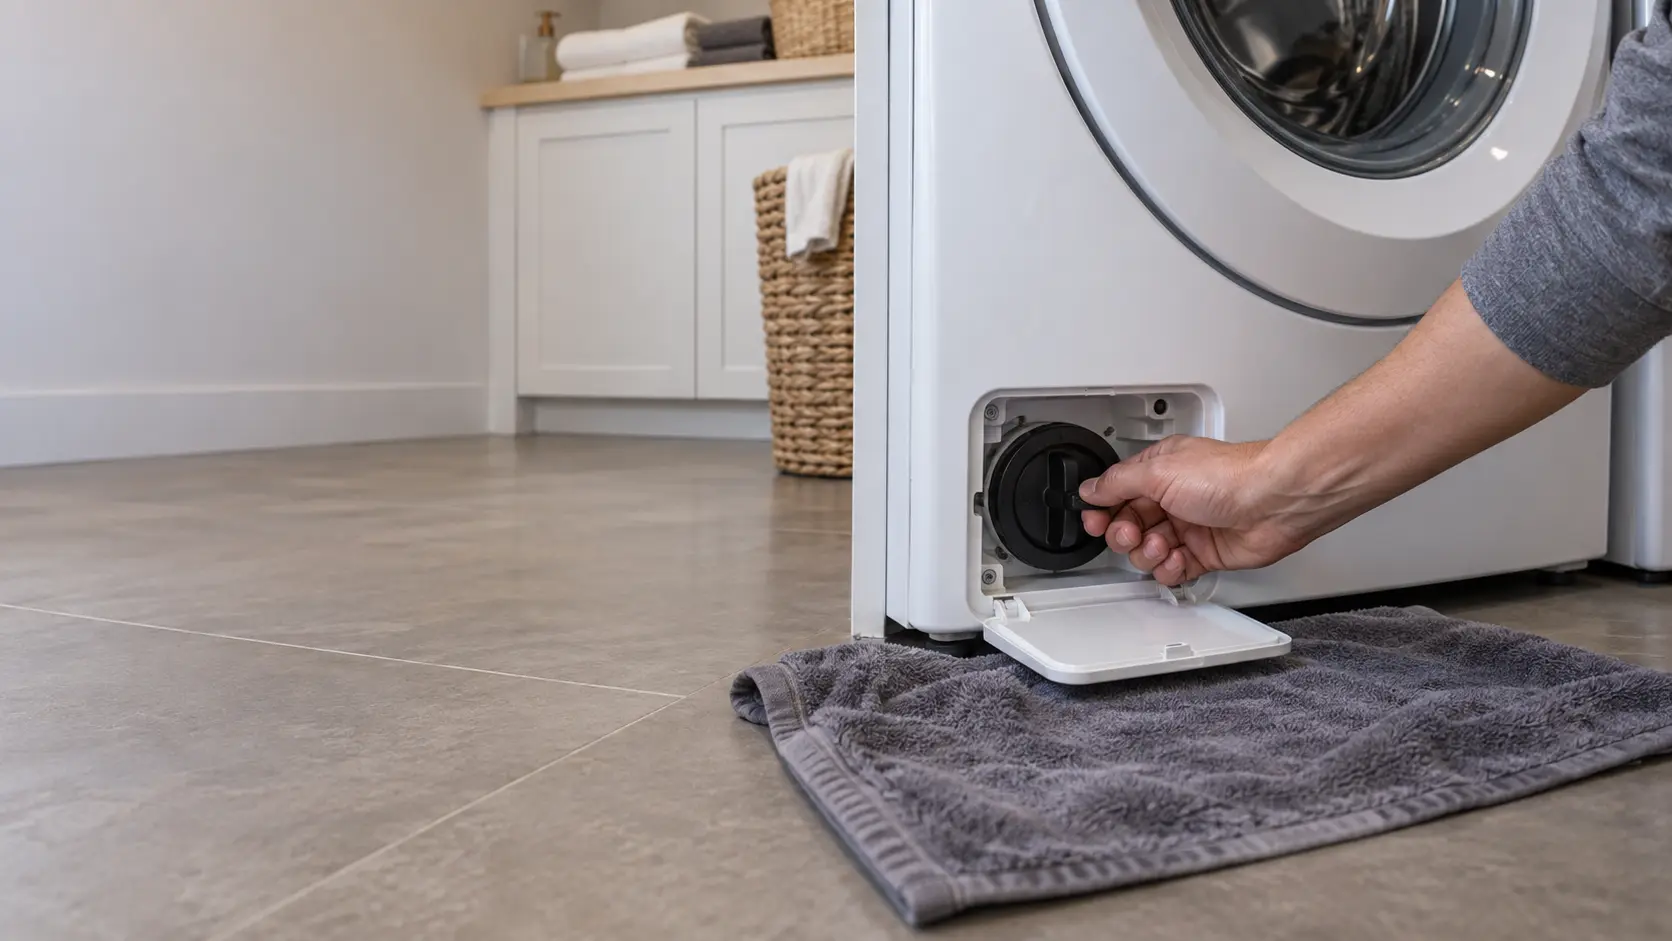
On most front-loaders, the pump filter sits behind a small door at the lower front. Unplug the washer, put a pan and towels down, and open it slowly. Our separate guide to cleaning the drain pump filter covers the details, including what to do if water keeps coming.
Source: Whirlpool — Not draining, front-load washer — Drain hose no more than 4.5 inches into the standpipe and never taped; clean the drain pump filter
Check 5: the load, the detergent and the level
A surprising number of calls about shaking, noise or wet clothes turn out to be one heavy item, a crowded drum or an overdose of detergent. Spread the load, remove the bath mat washing on its own, and look for foam in the door glass.
Then press down on opposite corners of the cabinet. A washer that rocks needs its feet adjusted and locked. On a new front-loader, check the back panel for the shipping bolts, which Whirlpool lists first when a front-loader walks or vibrates.
What to write down for the technician
Collect the answers in one place before you book:
- The model number from the label inside the door or under the lid
- Any code or flashing light, exactly as shown
- Which of the five checks changed anything
- When it started: after a move, a plumbing repair, or gradually
Source: Whirlpool — Washer walking or vibrating, front-load washer — Shipping bolts removed, all four feet on the floor, washer level, not overloaded, no bulky item on its own